Friday, October 7, 2011

Frangipane Ripple Chocolate Pound Cake

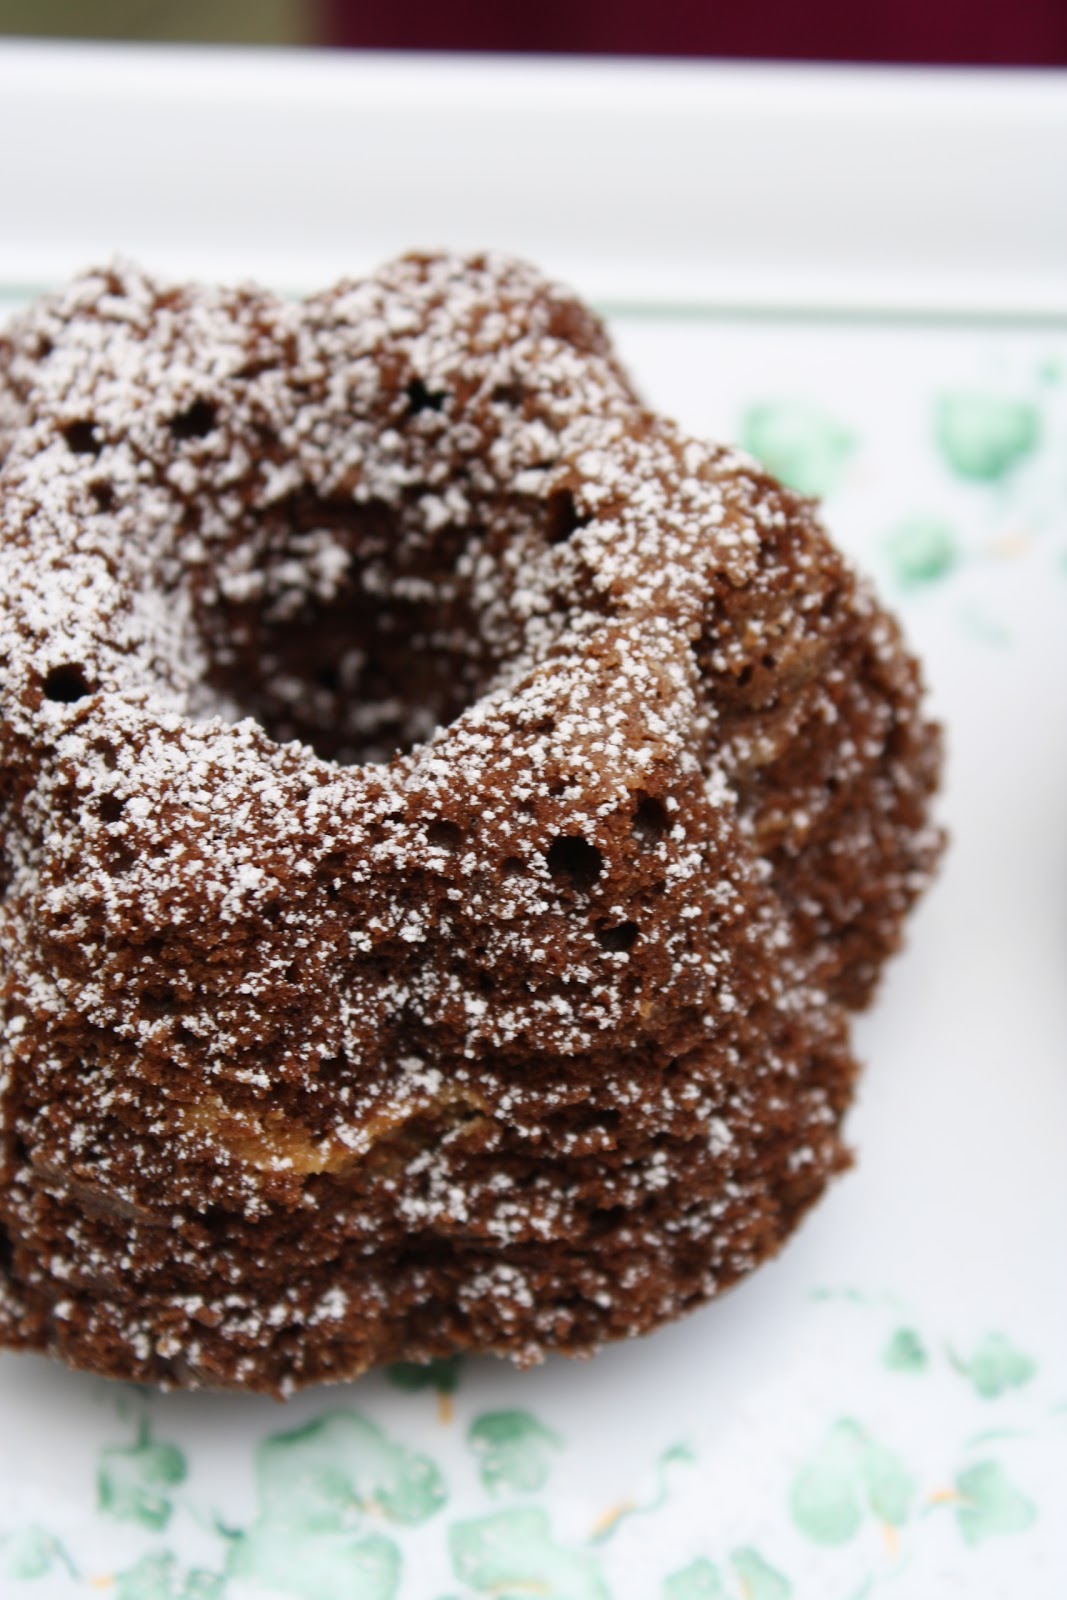
Wow, it that a mouthful or what! This easy-to-do bundt cake is another from Flo Braker wonderful collection. I am a frangipane fan so when this came up on the ABC Bakers list I didn't want to miss it. Frangipane is usually made from ground almonds, egg, sugar, and butter. It can be used as a filling for tarts topped with fruit, cake, pies, and assorted pastries. This is however, the first time I paired a frangipane with chocolate. Almonds usually go very well with chocolate so why wouldn't this? Well, it does and very well indeed!

The base of this bundt style cake is a chocolate pound cake. Also one of my favorite types of cake. I particularly enjoy the small crumb and smooth texture of a good pound cake. For this recipe this ingredients are: cake flour (this is the reason for the fine crumb), cocoa powder (keeps the chocolate from going over the top), baking powder, salt, sugar, eggs, vanilla, milk, and butter of course! My favorite pound cake recipe of choice contains cream cheese, this one uses milk. But alas fear not..... this will not disappoint!
As you can see I went with the mini-bundt pans which makes sharing with friends and neighbors easier. Plus who doesn't like a personal sized treat! I found this pound cake with the frangipane ribbon to be very tasty, moist, and not over the top chocolatey and as promised it did improve with age. I do hope you give it a try, you will not be disappointed.

Tuesday, September 6, 2011

Quintessential Cheese Blintzes

The newest of the  baking projects chosen for the ABC Baker's Challenges is the Quintessential Cheese Blintzes by Flo Braker. Whenever I hear "cheese blintzes" mentioned I am immediately flooded with fond memories. The oldest of them are from my childhood when my grandmother made these for my brothers and I. Light, slightly sweet pillows of delight! As my son was growing up I made them for him as a special breakfast, lunch, or brunch. It was something he also looked forward to equal enthusiasm. So for me doing the cheese blintzes with the ABC Baker's was sheer pleasure.

So last week with the coming storm, not knowing if we would have electricity or when it would return, I felt it best to make these early. As it turned out, just as I was serving them up to my husband the electric went out! Wow, that was spooky!

If you've never had these wonderful little rolls you really don't know what you are missing! And if you think they are difficult, think again. These are really simple to whip up and oh how they will make eyes pop!

The first thing you want to do is get the crepes made. This batter sits in the refrigerator 1-2 hours before you cook it up. All you need is butter, flour, eggs, salt, and water....oh and a nice heavy bottom, non-stick (if possible but not necessary) pan. The procedure is easy and goes quickly. Just pile them up on the side, keep them warm while you make the filling.

Flo suggests using farmer cheese, sugar, egg, salt, vanilla, and orange or lemon zest. Now over the years I've used ricotta and small curd creamy cottage cheese with equal success. They are all good so don't feel guilty substituting!

After the crepes are done and the filling is ready it is time to assemble. Spooning about 1 1/2 tbs of filling spread slightly across the center. Then flip the sides in onto the filling and roll from the top down until you have a neat, rectangular package (looks like an egg roll). Then saute them in butter until they are slightly brown. Flip them gently and brown the other side. Viola!

I served them with a yummy black cherry preserve over the top. You can use any jam or preserve, powdered sugar, or naked. They are all good. This was sooooo good I hope you will try them. Let me know what you topped them with! 

Wednesday, August 17, 2011

A special birthday and a fun project all in one!

I play around with fondant and gum paste whenever possible. Which believe me isn't often enough. So when my nephew's 30th birthday came up I figured I would use this celebration, make it special in my way and give him something he and his 70 guests can enjoy as well. The weather was promising to stay sultry and and we needed to travel two states over (probably in traffic). So with all this in mind I knew buttercream and cake were out! Why not cookies? I knew his favorite is chocolate chip. So how do I make this special...hmmm. 

I thought I'd pick up a party bucket and fill it with cookies; that would be a variety of chocolate chip cookies. This meant: mint chocolate chip, white chocolate chip, toffee chocolate chip, peanut butter chocolate chip, milk chocolate chocolate chip, butterscotch & chocolate chip, and chocolate chocolate chip (phew). I filled the bucket with over 200 of these little darlings. Then to top the bucket and give me a good strong base I made a 14" diameter giant chocolate chip cookie. Then, here comes my favorite part........ I made a "30" out of rice krispie treats, covered it in fondant in the "steam punk" style. The reason I chose Steam Punk style due to its use of wood and metal. My nephew is a carpenter by trade so to me it was a good match.
Unfotunately I did not get the opportunity to take a picture of the assembled project. Hope you like it as much as he did!

Tuesday, August 16, 2011

Neapolitan Bars

Neapolitan Bars, sounds interesting, right? Sounds like it has some layers of flavor like Neapolitan ice cream, right? Yes and yes, it is and does. I was so honored when Hanaa of the ABC Bakers asked if I would like to choose one of the next baking projects. There was no delay in my choice. I had just made these bars and was very excited to share. This special treat and newest baking project can be found in Flo Braker's book, "Baking for All Occassions". 

One of the things that I like about Flo Brakers' books (I currently own 2) is that she has a wide assortment of recipes. Some cookbook authors are heavily into chocolate or some other ingredient. It becomes difficult to bake from such a book if you are not in love with that ingredient. But as I said, Flo is different and I never tire of perusing her books for a new baking project. And this recipe will not disappoint. Enough of all that lets get to the bar!  

 This bar actually has 4 layers of flavor. The first layer is a pastry like cookie layer rich in butter and delicate vanilla flavor. It is quick to assemble and and is baked to a slightly golden color.

The next layer is raspberry jam. This could probably be switched out for apricot, blackberry, strawberry or any flavor you desire. It is spread thinly on top of the cooled pastry. 

Next the filling is prepared.  It consists of almond paste (yum, right!), sugar, butter, eggs, and vanille. You can tint this green or not. The filling is spread over the raspberry layer. Bake this for 35-40 minutes until the top is just firm, not hard. Cool completely on a rack.

The last layer is a chocolate glaze. Butter, chocolate, whole milk, sugar, salt, and vanilla is melted together into a creamy, smooth, and rich glaze. Spread over the top of the filling using an offset spatula. Allow the bars to cool completely before cutting into small squares for serving.

These bars are extremely delicious. And are an impressive addition to any table for any occassion. Enjoy!

Thursday, August 11, 2011

Old Fashioned Sour Cream Cookies

Sour cream cookies sound a little bland to you? Well that depends on what you look for in a cookie and what tips the scale and makes  it to your "favorites" list. Me? I usually go for crunch, a little color, and flavor I can taste. Sounds like these cookies shouldn't be on my list of favs but, they are! In fact they are one of my oldest and most favorite cookie. Here's why: they are soft as in cake-like, sweet but not over the top, the flavors are clean, simple, and delicate ( I just love vanilla and nutmeg too). These cookies are simple to prepare as long as you let the dough chill overnight in the frig. Don't forget to vary the size and shape too. What wrong with all that!? Nothing in my book so on with the full recipe....

1/2 cup butter
1 cup sugar
1 egg
1 tsp vanilla
2 2/3 cups flour
1 tsp baking powder
1/2 tsp baking soda
1/2 tsp salt
1/4 tsp nutmeg
1/2 cup sour cream
A little sugar for sprinkling on top

Preheat oven to 425 degrees. Mix butter, sugar, egg, and vanilla thoroughly. Blend dry ingredients; add to sugar mixture alternately with sour cream. Blend until combined (don't over mix). Cover dough tightly and chill several hours or overnight.

Divide dough, sprinkle with flour, and roll out between parchment paper to 1/4" thick. Cut with a 2" cutter and shape you wish. Sprinkle with sugar. Bake 8-10 minutes until slightly brown.

See how easy that was? Sometimes easy is suprisingly best. What is also very nice is that they can sit on any dessert table, for any occassion. Let me know what you think. 

Wednesday, August 3, 2011

Congo Brownies

The August baking project with the ABC Bakers was Congo Brownies, found in Flo Braker's Baking for All Occassions. Now just to set the story straight I am not a brownie person. In fact I couldn't tell you when the last time I made brownies. Now come on, stay with me here. This will end well, I promise. As I was saying......brownies to me are gooey, soft, over the top chocolatey. I don't mind chocolate if it is in the form of Lindt Truffles but over the top brownies not so much. But, being a good sport and having hungry neighbors I went with the program. As it turns out these were definitely different and....wait a minute you're just going to have to read through to find out how this story turns out.

This is not your usual brownie recipe, it is a combination of a brownie and a nut studded blondie, that's right! First the Congo layer (blondie incognito) made with all the usual participants including yummy brown sugar and studded with walnuts. This wonderful layer is partially backed then removed from the oven for the addition of the brownie layer.

The brownie layer again has all the usual participants but includes not only cocoa but melted unsweetened chocolate, over the top? Or maybe its just a nice balance of chocolate that helps to tone the chocolately sweetness down a bit. Back in the oven to finish baking.

After cooling there is a drizzle of melted chocolate and I added another drizzle of white chocolate for a continuation of the black and white theme. I must say this was not gooey and not mushy. The texture was closer to cakey, much more to my liking. The over all reaction from my tasters was very positive and I must admit that if I was to eat a brownie...this would be the one. I might even suggest some vanilla ice cream on top to finish it off! See it ended well! Enjoy!

Thursday, July 28, 2011

Butterscotch Spiral Coffee Cake

This has been the craziest, busiest, and hottest summer in quite some time. I've been baking, yes ....thank the air-conditioner gods. In addition I had the opportunity to do a fun, creative, eatible project for a family member that I will reveal soon.

For now on to this months late posting of the ABC Bakers project, Butterscotch Spiral Coffee Cake from Flo Brakers book "Baking for All Occassions". I'd never pass up an opportunity to bake a yeasted coffee cake so when this came up I was all over it! That is until the time came to post, well that was a few weeks ago...(head hanging with sad face). Enough of that you get my message.

This yeasted cake recipe called for the usual round up of flour, sugar, salt, yeast, some warm spices like: cinnamon, nutmeg, and cardamom. Also in attendence was milk, butter, eggs, and vanilla. Flo warned us that the dough would be sticky and boy she wasn't kidding. I'm not sure if I did this right but, I had to add much more flour than I expected. This really toppled my confidence but kept going.

At this point a butterscotch glaze is prepared with brown sugar, butter, and corn syrup.  It is poured into the prepared pan. After the suggested rising time the dough is rolled out, spread with a cinnamon/butter filling then cut into strips. The strips are coiled around the pan. It is covered and left to rise again. Bake in a 350 degree oven. I took heed of our fearless leader, Haana's advise and was careful not to over bake. After a short cooling off period the pan is flipped and presto!

Now I'd like to say this was just wonderful but I cannot tell a lie. I didn't find the cake to be very tasty, or yeast-like flaky. However, in all fairness it could have easily been my fault with all that extra flour. The glaze was delicious as was the cinnamon-butter spread. I wouldn't mind trying this again but, I would probably make more changes to make it more interesting. If you try this recipe and get better results let me know.