Wednesday, October 27, 2010

Going Donuts with the Daring Bakers

The October 2010 Daring Bakers challenge was hosted by Lori of Butter Me Up. Lori chose to challenge DBers to make donuts. She used several sources for her recipes including Alton Brown, Nancy Silverton, Kate Neumann and Epicurious. I don't know about everyone else out there but donuts just plain scared me. So this was truly a challenge for me.
Lori gave us quite a number of choices (yeast or cake) and many variations (fillings and toppings) to choose from. Since this was to be my first attempt I chose to make yeast donuts with a coat of cinnamon and sugar. I know it doesn't sound very courageous, but the thought of deep frying without the help of a deep fryer had me very wary from the start.
The ingredients and directions can be found on some of the Daring Bakers blogs if you want to give it a try. The yeast dough was suprisingly easy to assemble and rose nicely. If you have been reading my blog you would know that yeast used to send me running in the opposite direction. However, over time I have come to terms with it simply by making sure the water is at the correct temperature and that the yeast is fresh.
Since I do not have a deep fryer I substituted a deep saucepan filled with oil to the required 3 inches. I used a thermometer and brought the oil to 365 degrees. The fry time was about 1 minute per side. I slid the cooked donuts out onto a rack and let them cool before rolling them in the cinnamon-sugar mixture.
I must admit this challenge was fun and educational for me. Not only did it give me an opportunity to try something never before attemped but, I was able to take the fear out of deep frying. The donuts themselves were very tender and delicious! My family loved them and polished them off before they were totally cooled! Thanks Lori!!!

Monday, October 25, 2010

Chocolate Angel Food Cake

This week with the Heavenly Cake Bakers it was a Angel Food Cake 
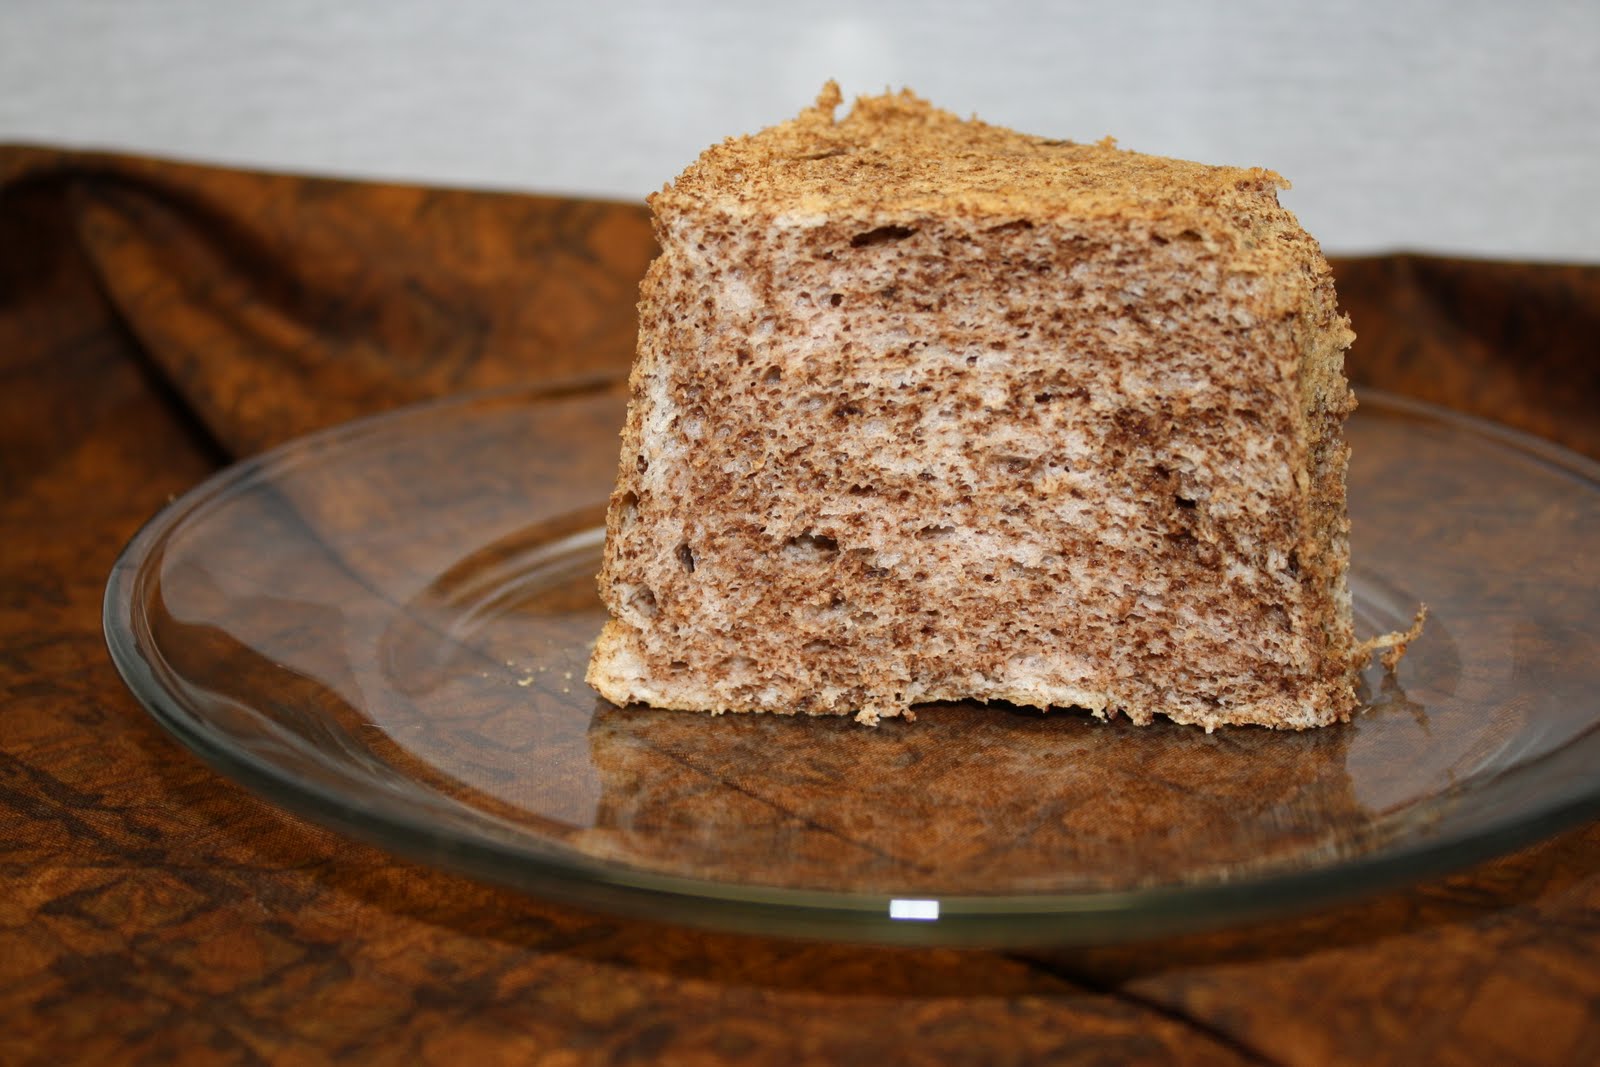
challenge. Challenge because even though the ingredients list is short and the directions seem easy, don't be fooled. The first few times I tried my hand at Angel Food I failed miserably. However, that was when my stubborn streak kicked in. I wasn't going to give in to something as light and feathery as an Angel Food Cake!
Soon after and many eggs later I realized the key to success with this type of cake is in the meringue. Yup, that would be the egg whites and sugar! And the key to success with meringue is in recognizing when the egg white is at the soft peak stage. Then and only then should the sugar be introduced in a slow and steady stream. After achieving success with your meringue the rest is a matter of following the authors directions. Rose Levy Beranbaum's version of Chocolate Angel Food Cake was easy to follow and.....well you'll see what we thought at the end, so read on.
Ingredients:
superfine sugar (superfine is very important)
cake flour or Wondra flour (I used cake flour)
salt
egg white
cream of tarter
vanilla extract
grated chocolate (I used a semi-sweet)
Directions:
Whisk half the sugar, flour and salt together; set aside. In the bowl of a stand mixer using the whisk attachment, the egg whites and cream of tarter is beaten until soft peaks are foamed.
The balance of the sugar is gradually added with the mixer running on a medium-high speed. Continue beating until stiff peaks form.
Carefully and slowly fold in the dry ingredients. Then fold in the grated chocolate, again careful not to deflate the batter.
Empty the batter into a tube pan and bake on 350 degrees for 25-40 minutes. The last step to success is to turn the cake pan upside down for 1 1/2 hours to cool completely.
There are many ways to finish off an Angel Food Cake. You can simply dust with powdered sugar, drizzle with chocolate, top with ice cream and on and on. My family wanted it simply "as is" for their first taste. We found this cake to be moist, tender, and simply delicious. Perhaps tonight it should sit next to a scoop of ice cream!

Wednesday, October 20, 2010

Ginger Snaps with a snap!

I didn't always like Ginger Snaps. I thought they were boring, no challenge, too simple. Then I started to yearn for and test out a Sauerbraten recipe. If you don't know what Sauerbraten is you are truly missing a treat. To put it simply, Sauerbraten is a pickled or sweet & sour pot roast. Don't wrinkle your nose at that description until you've had the pleasure of trying it. This is truly a yummy dish. Anyway, I'm not trying to convince you to try Sauerbraten today so lets continue. The gravy for this dish contains ground ginger snaps which lead me on a quest for the perfect ginger snap. I was looking for a punch of flavor, a little heat and a snap. This is what I found and tweeked to my version of perfection.
Ingredients:
9oz flour
2 tsp baking soda
2 tsp ground ginger
1/2 tsp allspice
1/4 tsp salt
1 stick butter; melted, cooled
1/4 cup molasses
1/2 cup sugar
1/3 cup brown sugar
2 tbs grated fresh ginger
1 egg
1/3 cup finely chopped crystallized ginger
1/2 cup sugar for rolling
Directions:
In a medium bowl combine all dry ingredients; set aside. Combine warm butter, molasses, sugars, fresh ginger in mixer bowl. Mix on medium-high speed until light and fluffy. Add the dry ingredients and chopped ginger; blend just until incorporated. The dough will be soft and should be refrigerated for at least 1 hour. Form dough into 1" balls, roll into the sugar. Bake on a parchment lined baking pan 12-15 minutes in a 350 degree oven. If you like them crisp leave the dough in the refrigerator over night and bake 14-18 minutes. Cool completely on a rack.
Hope you enjoy these as much as we do!

Monday, October 18, 2010

Many-Splendored Quick Bread

It was nice to bake a quick bread with the Heavenly Cake Bakers this week. Quick bread isn't something I would normally choose to bake but, the addition of carrot & zucchini made this one a little more interesting. The recipe presented in Rose's Heavenly Cakes book looked easy to do so I'll just get on with it.
The ingredients list was a little longer than usual but very nothing odd or hard to get. It included walnuts (for a gentle crunch), oatmeal (fiber-so maybe this is healthy?), banana (moist), oil (which means it will stay soft even straight out of the refrigerator), brown sugar (mmmm, warm flavor), sugar, egg, zucchini, carrot (nice colors), flour, and the usual leavenings. The instructions called for toasting the walnuts which gaves this quick bread much needed flavor.
After making the batter and baking I brushed the top with honey and sprinkled with a sugar-cinnamon mixture. Then allowing the bread to cool I sliced it up and popped a piece right into my mouth. I found the cake to be tender, moist, and colorful. However, I wish I had tasted the batter before baking I would have added some spices. I felt that there just wasn't enough flavor. But, then again if you were in the mood for something simple and not too sweet, this would be nice with tea or coffee.

Wednesday, October 13, 2010

Monday, October 11, 2010

Apple Tart with an Almond Cream Center

Phew, what a week it has been! I have returned to reality after spending some quality time with and preparing for a visit from friends. Dale is my very special friend of 47 years! We grew up together, we each had ups and downs; good times and bad times, the births of our children, the loss of loved ones, and battles with cancer. Through it all we remained the best of friends. So this was a special visit from special people that deserved only the best of eats!
The four of us (husbands included- after all they truly complete the "us") baked an Apple Tart, stage it for a photo op and took turns with the camera! Oh and I almost forgot- we ate it...what a bast! Ok, ok, I'm moving on to the yummy part. This tart has several components and is worth all the effort so hang in there. First is an Pate Sucree, then almond cream, an apple compote, and poached apples. So, lets get going!
Pate Sucree or Sweet Dough:
2 cups Flour
1/2 cup sugar
1/4 tsp salt
1/2 tsp baking powder
4 oz butter, cool, 1/2" cubes
2 eggs
Stir together dry ingredients. Add butter cubes; toss to coat. Using your impeccably clean hands rub the butter pieces into the flour. No visible pieces of butter should remain and it should have a sandy appearance. Beat the eggs and pour over the butter mixture. Stir with a fork until evenly moistened. Press together, shape into a flat disk. Wrap in plastic and chill. Remove from refrigerator and blind bake on 350 degrees for 15 minutes. Set aside.
Apple Compote: (sorry about the metrics)
375g peeled, cored, and 1/4"cubes, golden delicious apples
62g sugar
1/2 tsp vanilla
1 tsp lemon juice
50ml water or apple brandy
Place everthing in a saucepan.Cover, place over low heat, and cook, stirring occassionally. The compote is finished when the apples are translucent and the water is evaporated. Set aside.
Almond Cream:
125g butter
125g sugar
125g ground almonds or almond flour
1 egg + 1 yolk
15g corn starch
Add all ingredients to the bowl of a food processor and pulse until thoroughly combined.
Poached Apples:
3 Golden Delicious apples, sliced
1/4 cup sugar
1/4 cup apple brandy
Add all ingredients to a saute pan; cover. Poach just until the fruit has softened. Remove from liquid and set aside to cool.
Assembly:
Spread almond cream evenly over cooled shell. Top with the apple compote. Arrange the slices around the top. Sprinkle with sugar. Bake in a 375 degree oven for 35-40 minutes until the crust is brown and the apple slices are carmelized and tender. I usually brush the top with warm apple jelly to give it a nice shine and keep the apples from drying out.
I hope you have as much fun making and eating this as we did!

Friday, October 1, 2010

Orange Flower Scented Madelines

Madelines are a diverse, little shell-shape cakes. They are light and delicately flavored, great anytime of day. Madelines are elegant enough to place on the table at a dinner party, tea party, or family gathering. I love these little sweeties and make them in quite an assortment. Today though I flavored the Madelines with orange flower water. So lets get started.
This version is based on a recipe from one of my favorite cookbook authors, Nick Malgieri. The original can be found in "A Bakers Tour" (a great book I highly recommend).
Ingredients:
3/4 cup flour
1/2 tsp baking powder
2 eggs
1/2 cup sugar
2 tsp vanilla
1 tbs orange flower water
5 tbs butter, melted, and cooled
Directions: In a small bowl, combine the flour and baking powder. Set aside.
In the mixer bowl, whisk the eggs until opaque. Then add the sugar in a stream. Whisk in the vanilla and flower water. Whip the mixture until light and fluffy, about 2-3 minutes.
Add the cooled butter slowly in a stream down the side of the bowl, while the mixer is running. Remove the bowl from the mixer and gently fold in the flour mixture.
Cover the bowl and place in the refrigerator until completely cooled or overnight.
When you are ready to bake the madelines, preheat the oven to 375 degrees. Butter a madeline pan well and chill while waiting for the oven to preheat. Spoon batter into the cavities about 3/4 full. Bake about 10 minutes, the madelines will be slightly golden on the edges and the hump will feel firm when touched gently. Remove from the pan from the oven and the madelines from the pan. Let them cool on a rack.
Madelines can be made in many ways some of which are: chocolate, pumpkin, lemon, vanilla, gingerbread, cinnamon, and on and on. Enjoy them with coffee, tea, milk, or on their own. Have fun with them, I hope you will love these as much as I do.