Tuesday, August 31, 2010

Baked Alaska with The Daring Bakers

The August 2010 Daring Bakers' challenge was hosted by Elissa of 17 and Baking. For the first time, The Daring Bakers partnered with Sugar High Fridays for a co-event and Elissa was gracious hostess of both. Using the theme of beurre noisette, or browned butter, Elissa chose to challenge Daring Bakers to make a pound cake to be used in either Baked Alaska or on Ice Cream Petit Fours. The sources for Elissa's challenge were Gourmet magazine and David Lebovitz's "The Perfect Scoop".
August is a great time for an ice cream challenge and to make it even better this was also a special birthday celebration in our home. Yes, a special day for a special lady who turned 85 and just loves ice cream! As in any flavor any time, so this was just perfect. Baked Alaska is a combination of components; cake , ice cream, and a meringue topping. Elissa's challenge called for a Brown Butter Pound Cake, any flavor ice cream and either a chocolate glaze or meringue topping depending on whether you were finishing it as a Baked Alaska or Petit Four.I chose Baked Alaska for our finished dessert.
Brown butter or beurre noisette is a great way to add a depth of flavor to sweet as well as savory recipes. The nutty flavor can be used over pasta, vegetables, fish, eggs, and more. On the sweet side it can be used in cakes, frosting, cookies, sauces and on and on. To brown butter is simple but you must remain watchful or it will burn. Just put the butter in a saucepan or skillet over medium heat until the milk solids are a toasty golden color. Keep in mind it will continue to cook after removed from the heat. Therefore, I suggest removing the pan at the golden stage.
This pound cake comes out very moist and delicious. The recipes for the cake, ice cream and meringue can easily be found on many of my fellow Daring Bakers blogs.
I chose to make my ice cream strawberry since that is the favorite of the birthday girl. David Lebovitz's recipe is the best I've ever made. With the inclusion of 5 egg yolks the results are creamy, smooth and definitely that which dreams are made of. The meringue is straight forward, quick and easy.
The cake and ice cream can be made in advance and kept frozen until needed. When you are ready simply whip up the meringue,aim and fire your handy dandy blow torch.....and celebrate! This was a fun project and although I am a little late to post it was quick, easy and very yummy!
Happy Birthday Mom and many, many more!

Wednesday, August 25, 2010

Mini Black and White Cookies

Another nice recipe came my way via marthastewart.com and my tastebuds were peaked. One of my favorite bakery items is Black and White cookies. I don't frequent bakeries often but, when I do this is the treat I purchase. I have tried over the years to find what I would call the perfect one, but no such luck until now. I made a few minor changes to the original recipe and I believe this one is almost perfect.
Ingedients:
1 1/4 cups flour
1/2 tsp baking soda
1/2 tsp salt
6 tbs unsalted butter, softened
1/2 cup sugar
1 egg
3/4 tsp vanilla extract
1/3 cup milk
Directions:
Preheat oven to 350 degrees. Line baking sheet with parchment. Sift flour, baking soda, and salt into a bowl; set aside. In the bowl of the mixer fitted with the paddle attachment, mixbutter until creamy, about 2 minutes. Add sugar; mix until fluffy, about 3 minutes. Mix in egg and vanilla. Mix in flour mixture, alternating with milk.
Roll tablespoons of dough into balls; place them 2" apart on baking sheet. Bake until bottoms are golden, about 10 minutes. Transfer to rack; let cool completely.
Icing ingredients:
1 cup powdered sugar
2 tsp light corn syrup
1 1/4 tsp fresh lemon or lime juice
2 tsp cocoa powder
1/4 tsp vanilla extract
Icing directions:
Whisk powdered sugar, corn syrup, lemon or lime juice, vanilla extract , and one tbs of waterin a smal bowl until smooth. You may need to add a bit more water to achieve a honey-like consistency. Transfer half to another bowl; add cocoa powder. Again you may need a bit more water.Spread white icing on half of each cookie's flat side, and cocoa icing on the other hal; let set 30 minutes.
I hope you enjoy this as much as we did! If you have a great black and white cookie recipe please share with me.

Monday, August 23, 2010

Marionberry Shortcake

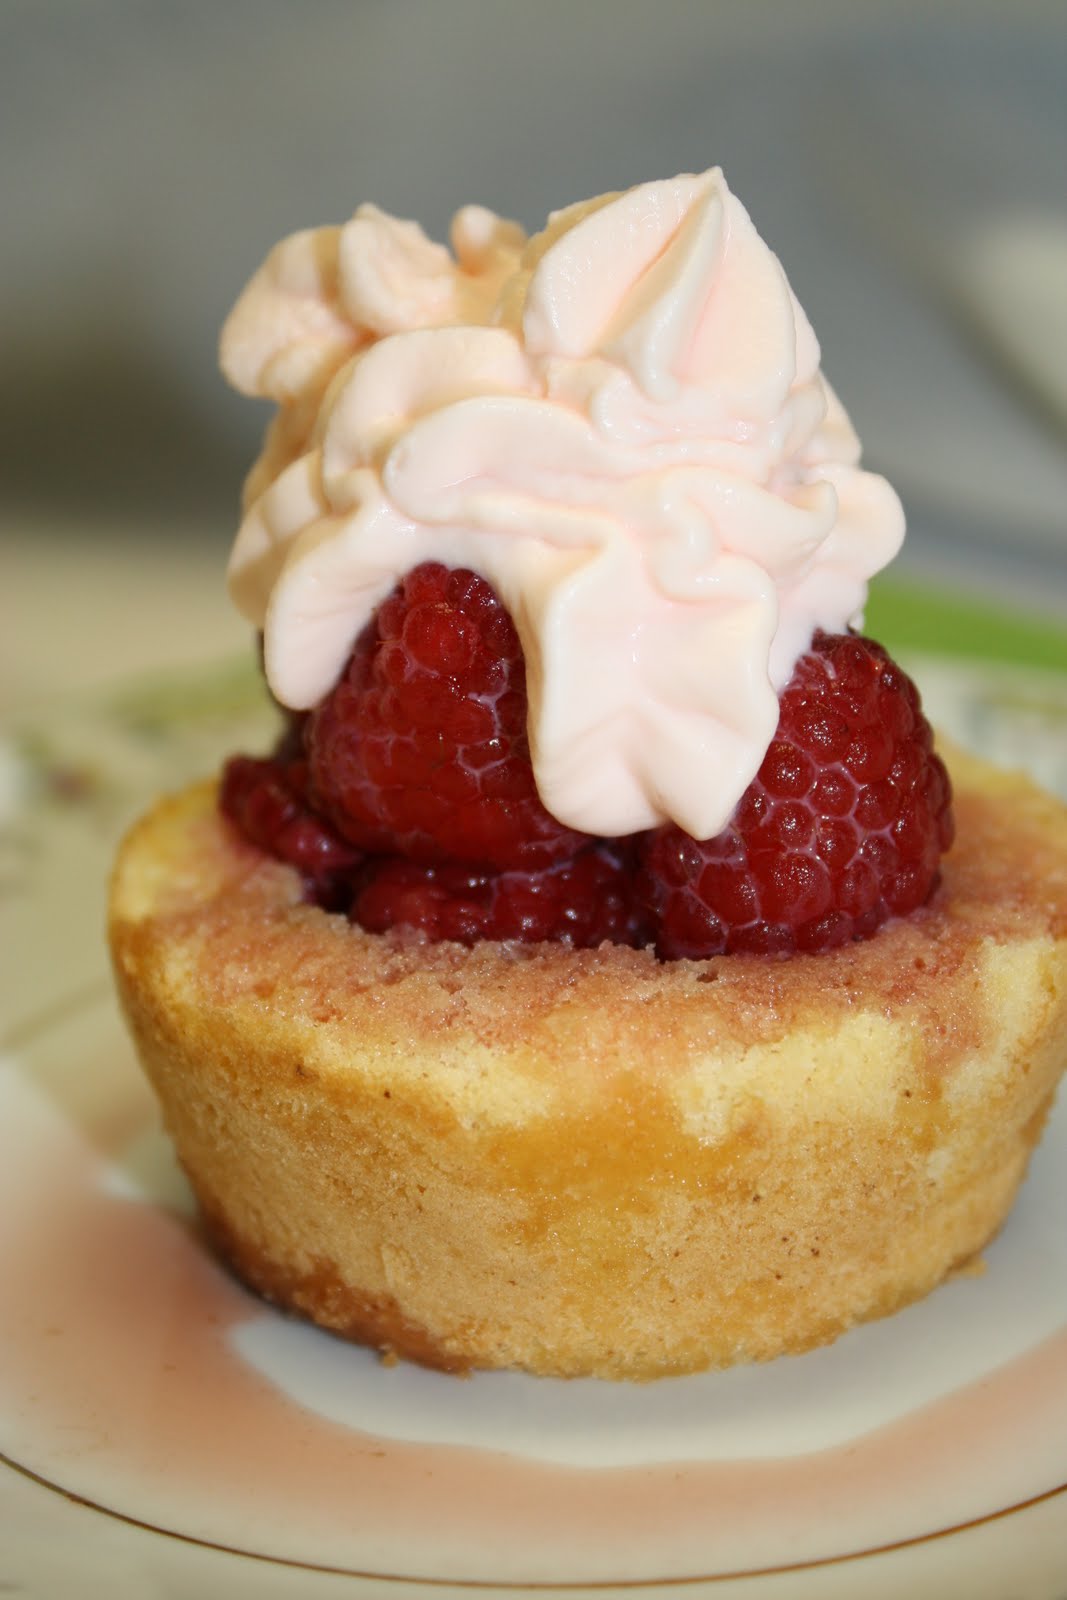
This weekend the very welcomed baking project with the Heavenly Cake Bakers was a Marionberry Shortcake. Fresh fruit on light cake topped with sweetened whipped cream, what's not to like about that! The first challenge in my prep stage turned out to be locating Marionberries. I can tell you with certainity that there isn't a grocer within 40 miles of my home that carries marionberries. No worries though.... I picked up some beautiful raspberries instead.
This recipe easily seperated into three components; cake, filling, and topping. The first component is the shortcake. I must say I expected this to be dry with the small amount of butter and "Wondra" flour. I am happy to say this was not the case. So onward...
The ingredients for this version of genoise is the ever tasty beurre noisette (browned butter for any of you new comers), eggs, sugar, vanilla and Wondra flour. Since I do not use this flour I followed Rose's suggestion and substituted a mixture of cake flour and corn starch. The directions were easy to follow and yielded a nice amount of light and fluffy batter. Here I used a large muffin pan to bake off the 6 individual sized cakes taking only about 20 minutes in the oven. After the cakes cooled completely I trimmed the bottom and top (that stickly layer that forms after cooling). Then proceeded to cut a 1/4" deep cavity for the fruit to rest.
Ah, now the fruit! I really would have liked to find Marionberries since I have never tasted them. But, as mentioned above, no such luck. Anyway, I took the raspberries and added some sugar, covered and let them rest in the refrigerator. This didn't yield as much juice as I would have liked. But once again Rose rescued me with her suggestion to add some Chambord to the muxture. Now this was a nice addition I didn't mind at all!
The last step was to whip up some sweetened whipped cream for the topping (I gave it a little pink tint to match the berry syrup). Now on to assemble then taste of course! Taking one cake at a time the top and bottom was gently brushed with some of the syrup. Next spoon some berries into the pre-cut cavity and top off with whipped cream.
I was very pleased with the results of this project. The cake was light and very tasty (thanks to the browned butter), and the timing for the raspberries was perfect. Overall the finished dessert was very pleasing and satisfying- a success.

Friday, August 20, 2010

Nutella Filled Sandwich Cookies

Sometimes when the sweet cravings hit and you need something satisfying but not heavy- think Nutella Sandwich Cookies. This recipe is adapted from a recipe found on marthastewart.com. It has quickly become one of my favorites for any reason
These simple yet gratifying cookies will easily fulfill your sweet needs (does this sound like a commercial? Oh my!). The vanilla cookies have just the right crunch and the filling (hmmmm) a smooth chocolate-hazelnut filling. I love hazelnut, don't you? The best part.....ready.......it is quick and effortless to whip up.
Ingredients:
1 cup flour
1/4 cup sugar
1/2 tsp coarse salt
1/4 cup cold unsalted butter
1/4 cup of whole milk
1+1/2 tsp vanilla extract
1 egg yolk
2 tbs sugar
chocolate-hazelnut spread
Directions:Preheat the oven to 325 degrees. Pulse flour, sugar and salt in a food processor until combined. Add butter, and pulse until the mixture resembles coarse crumbs. With the machine running, pour the milk and vanilla, process until the dough comes together.
If the dough is too soft refrigerate until firm. Then roll the dough between lightly floured sheets of parchment until 1/16" thick. Using a 1 1/2" cutter (whatever shape you want), cut out 30 rounds. Space 1" apart on parchment lines baking sheets Chill in the freezer until firm (about 15min).
Whisk the egg yolk with 1 tsp of water. Brush onto tops of cookies and sprinkle ith sugar. Bake until golden brown, 15-20 minutes. Let cool completely.
Turn over the bottoms and spread with 1 heaping teaspoon of chocolate hazelnut spread. Top with remaining cookies, and give a little twist. Refrigerate until set, about 15 minutes. That's it....yup!
Enjoy! I know we all did!

Wednesday, August 18, 2010

Strawberry Crumb Bars

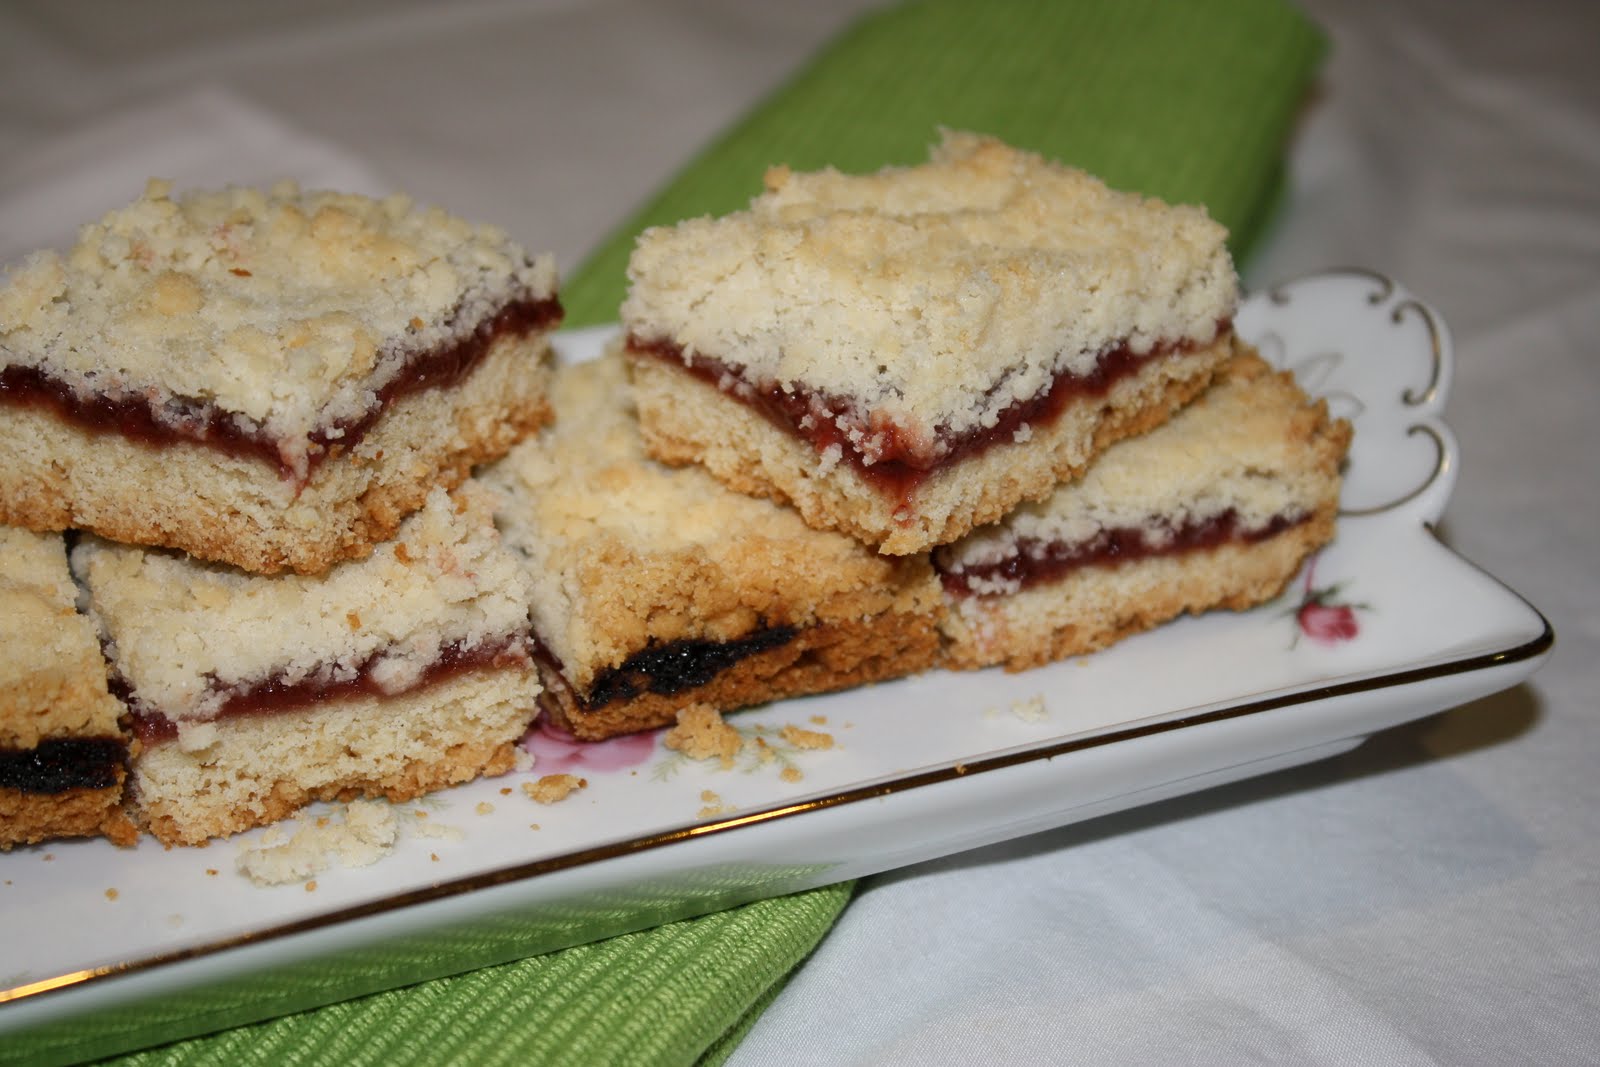
If you visit often you already know that I get inspiration from many sources and for many reasons. I have many wonderful books on my shelves, I like to try some of the recipes from my favorite blogs, I enjoy the challenge of the Heavenly Bakers and the Daring Bakers, and sometimes friends graciously share. The recipe for this project came from one of my favorites blogs, so I won't be writting up this recipe today. Instead I am going to rave about it so much that you won't be able to contain yourself and you will seek it out at Technicolor Kitchen in English.
The reason for this project is that this week I have a partner in the kitchen. She is a very special helper. With old but loving hands. Hands that are going to turn 85 years old on Sunday. So this week we need a small variety of treats for my helper to snack on until her day- a special birthday celebration. But more on that next week.
Back to the baking project at hand. Strawberry Crumb Bars! This is one of those recipes that as soon as it cools and that as the first bite goes in your mouth you know, you just know that this is a keeper. And its versatility lends itself to so many possible variations.
The recipe is in three components. First is a cookie base that bakes up seperately. Sweet but not overy, tender but holds together. A perfect blend of ingredients.
As the base cools the filling can be prepared. This is where it gets exciting. The first time I made this I used a fresh home made blueberry jam. Oh yeah! The second time I made it with a dried plum and orange zest puree. Yum! The third time (pictured here) I used a home made strawberry jam....pure bliss!
The last component is a not too sweet crumb topping and then back in the oven. The finished product is addicting and light, and wonderful. I already know what I will use as a filling the next time I make it!
Let me know if you try it and what you use as a filling!

~Wordless Wednesday #9~

Busy Bee

Monday, August 16, 2010

Cake Sculpting Workshop

Yes, it was a most incredible weekend. I never thought I would have the opportunity to attend a workshop so close to home. Never thought I would be attending a workshop taught by the infamous Colette Peters either! But, there it was advertised in our local paper and only 20 minutes away! I was beyond excited if that could be possible.
I've worked with fondant a few times in the past but nothing as intricate, or detailed as I would have liked. So my goal was to takes notes and pick up as many techniques as I possibly could in the three-day workshop.
So first up was carving the cakes (for our purposes the cakes were foam cylinders or squares) and learning the importance of correct dowel placement. The key to a structurally sound cake is balanced and dowels.
I kept my focus on technique of the details rather than going for the crazy crooked cake structure. Using 4 cakes and three three sizes I carved a tapered cylinders and made a donut shape. I was amazed at the ease of attaching the fondant to these shapes when using a high quality, moist fondant. And even more amazed that all fondant doesn't need to taste nasty.
The details on the cake are in gum paste and royal icing. I tinted with powered food coloring for the intense black on the top tier then marbled a soft violet for the rounded donut. The detail on the leaves is from a press that made them look amazingly life-like. The bottom is painted for an antiqued look. The gum paste pearls are painted with pearl dust and lemon extract. The round/donut shape is quilted and detailed with simple hand tools. The ribbon around the hat is ribbed with a rolling pin. The beads on the hat are threaded onto floral wire as is the little daisy. The button detail on the ribbon is brush embrodery.
This was an amazing class thanks to a very talented instructor. The cake and experience will stay with me for many years to come.